
Following the damage incurred after my excursion into the tyre wall at Silverstone the preceding month, it literally took me every free day up to the day of departure for Croft to get the car back to a presentable condition. Fortunately it only cost about £200 – a new radiator, fibreglass, body filler, sandpaper, paint and some powder coating. However, had I handed the car over to a garage to complete the work, I hate to think what the final bill would have been given the man hours involved. Big thanks go to my good friend Ian Simmons who printed, supplied and fitted the vinyl wraps for nothing. I tried to pay him but he is a generous man and wouldn’t take anything for his time.
During the repairs I found what was most likely the explanation for why the rear end unexpectedly mishandled – the rear nearside wheel had a staggering 5mm of toe out which would explain everything. How it got there is a mystery and I’m fairly sure it didn’t occur at impact since the rear off side took all the force. Perhaps an aggressive curb? However, it has taught me check the geometry before every race meeting.
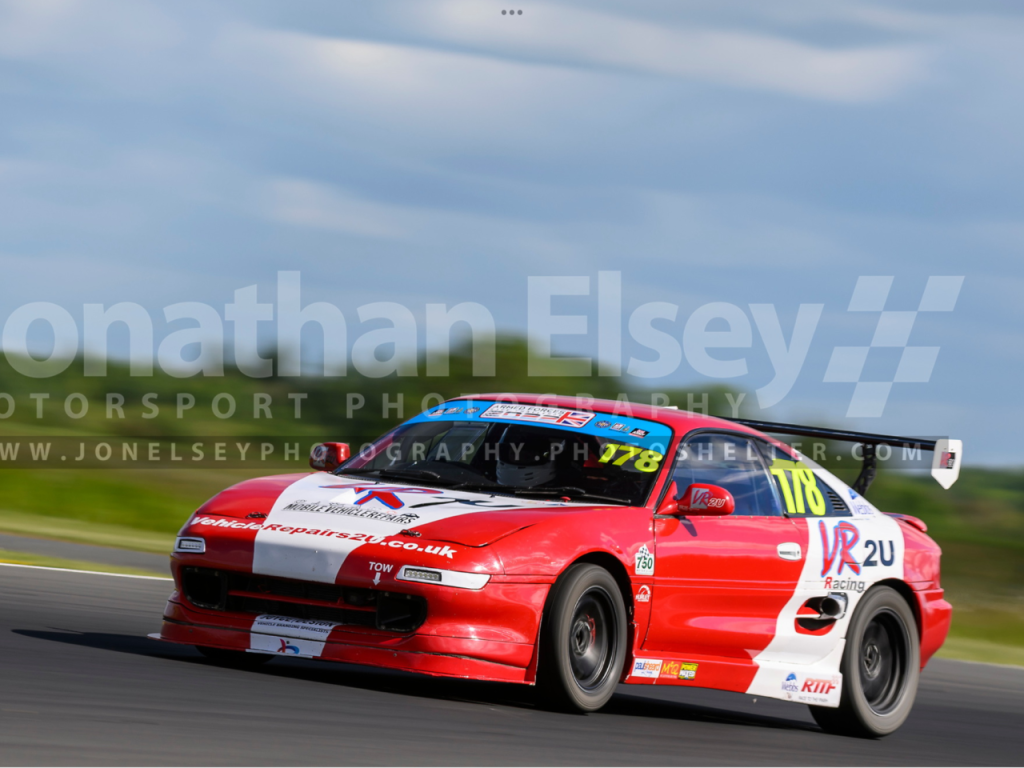
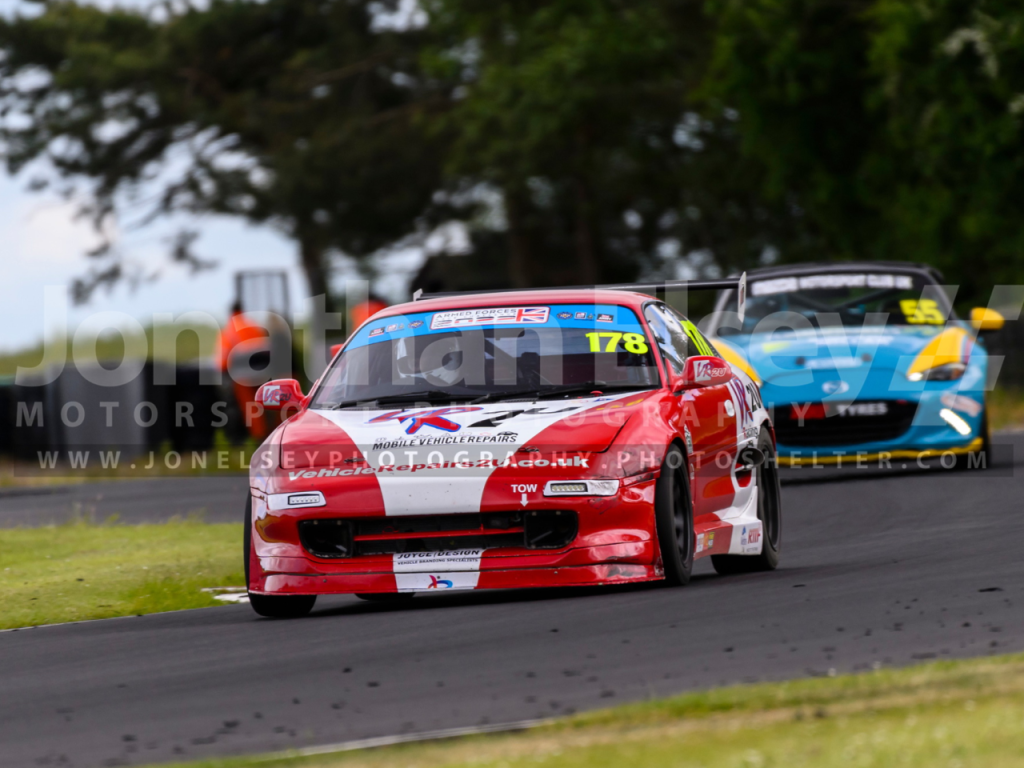
Facing my demons was a challenge; confidence is a big part of racing and I needed to gain it quickly in qualifying given it was the first time back in the seat after Silverstone. In the event I was relatively pleased with 6th in class out of 16 and 13th out of 30 overall for my Race 1 grid position. However, a poor start resulted in me conceding several places, one of which was to Paul Cook, a fellow MR2 driver. I literally told myself aloud to keep calm and settle in for a few laps rather than push too hard and lose it all. The tactic worked and I managed to crawl back several places to get on the 3rd step of the podium in Class C and come 9th overall. Unfortunately the result was not without incident when Paul moved out unexpectedly to avoid a car limping to the pits just as I was alongside. Back in the paddock a flew light blows with a hammer sorted the car for Race 2 but it ultimately resulted in me having to construct a new splitter.
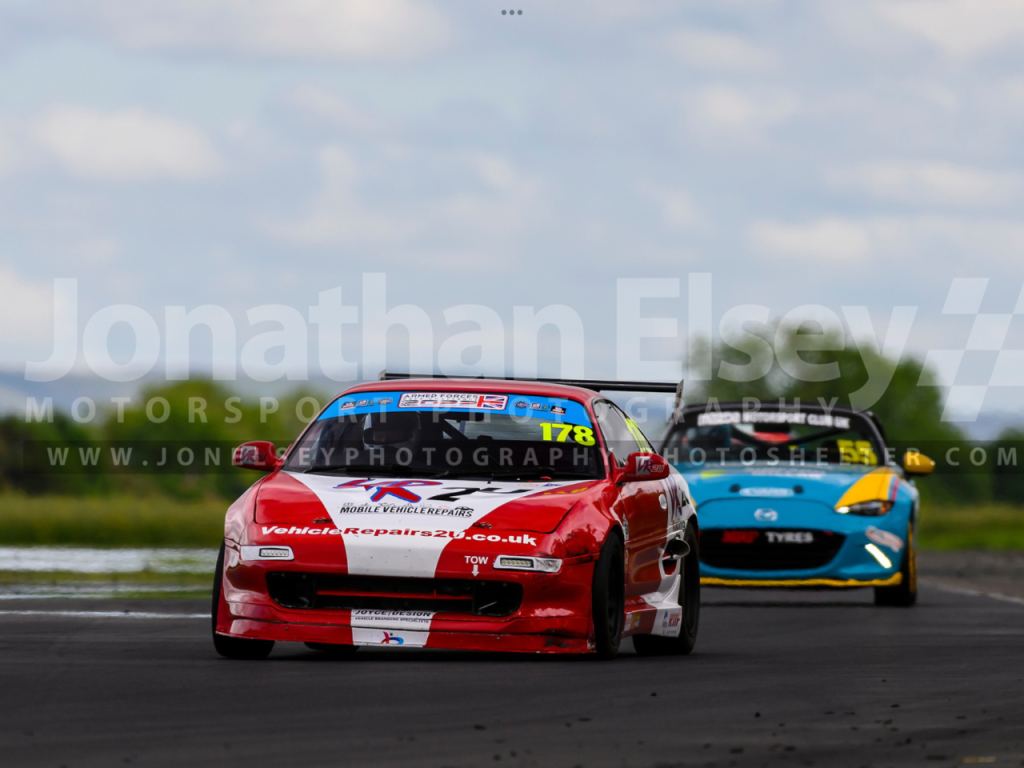
My start for Race 2 was a better one but I couldn’t hold off Keith Attwood’s turbo charged Mini which pipped me into Turn 1. The rest of the race were numerous attempts to pass but the Mini was just too powerful down the straights so despite being quicker, I couldn’t make up that final place to get another podium finish. Most importantly though, I thoroughly enjoyed the chase.
Thanks to Jonathan Elsey, Motorsport Photography, for the excellent photographs.